
Hey y’all! So a bit ago I asked Instagram if I should do a post on journaling, and it sounded like people would be into it! So, here we are! I’m not a bullet journal guru by any means, but I figured it might be fun to display how I do things as a student and reader with limited artistic talent.
So we’ve established that I am definitely NOT one of those bullet journal people who can whip out flawless spreads in under ten minutes. I am somewhat okay at doodling, and that’s all I can really claim. What I am, however, is very organized, because if I wasn’t, I wouldn’t get anything done. I’m a scatterbrain, and my mind is always going a million different directions. So, I’ve kept an agenda since high school, and moved into bullet journalling in college when I realized I needed a more customizable system. Yes, writing things out helps my brain sort through tasks, but even more so, it helps me to keep myself accountable. As I’ve told a million people in my life: If I don’t write it down, I don’t do it. At this point, I’m a bit obsessive, writing down everything from the biggest to smallest thing I have to remember.
Of course, the most important thing to stress about journaling is that you should do what fits you! If you don’t enjoy doing something in your journal or find it pointless, don’t do it. I’m envious of those who track everything about their lives like water intake and mood charts, but after so long trying that out myself, I realized that it’s not something I need. By nature, I love to document, but my Fitbit tracks my sleep and steps, and I have a mood app that reminds me to journal every day. Use whatever combination of things works for you! It’s all about function.
Note: You’ll see that I blurred out a few things that are more private!
Tools

Once again, you really don’t need fancy stuff to get started. When I first started journaling, I just used Sharpie Pens (and I still adore them to this day) and that worked out well! I only got into using brush pens and such when learning to handletter. Still — if you want to do “fancier” scripts but don’t want to pay for more supplies, there are some great YouTube tutorials on how to “fake” different brush strokes with regular ole pens! I still sometimes do that!
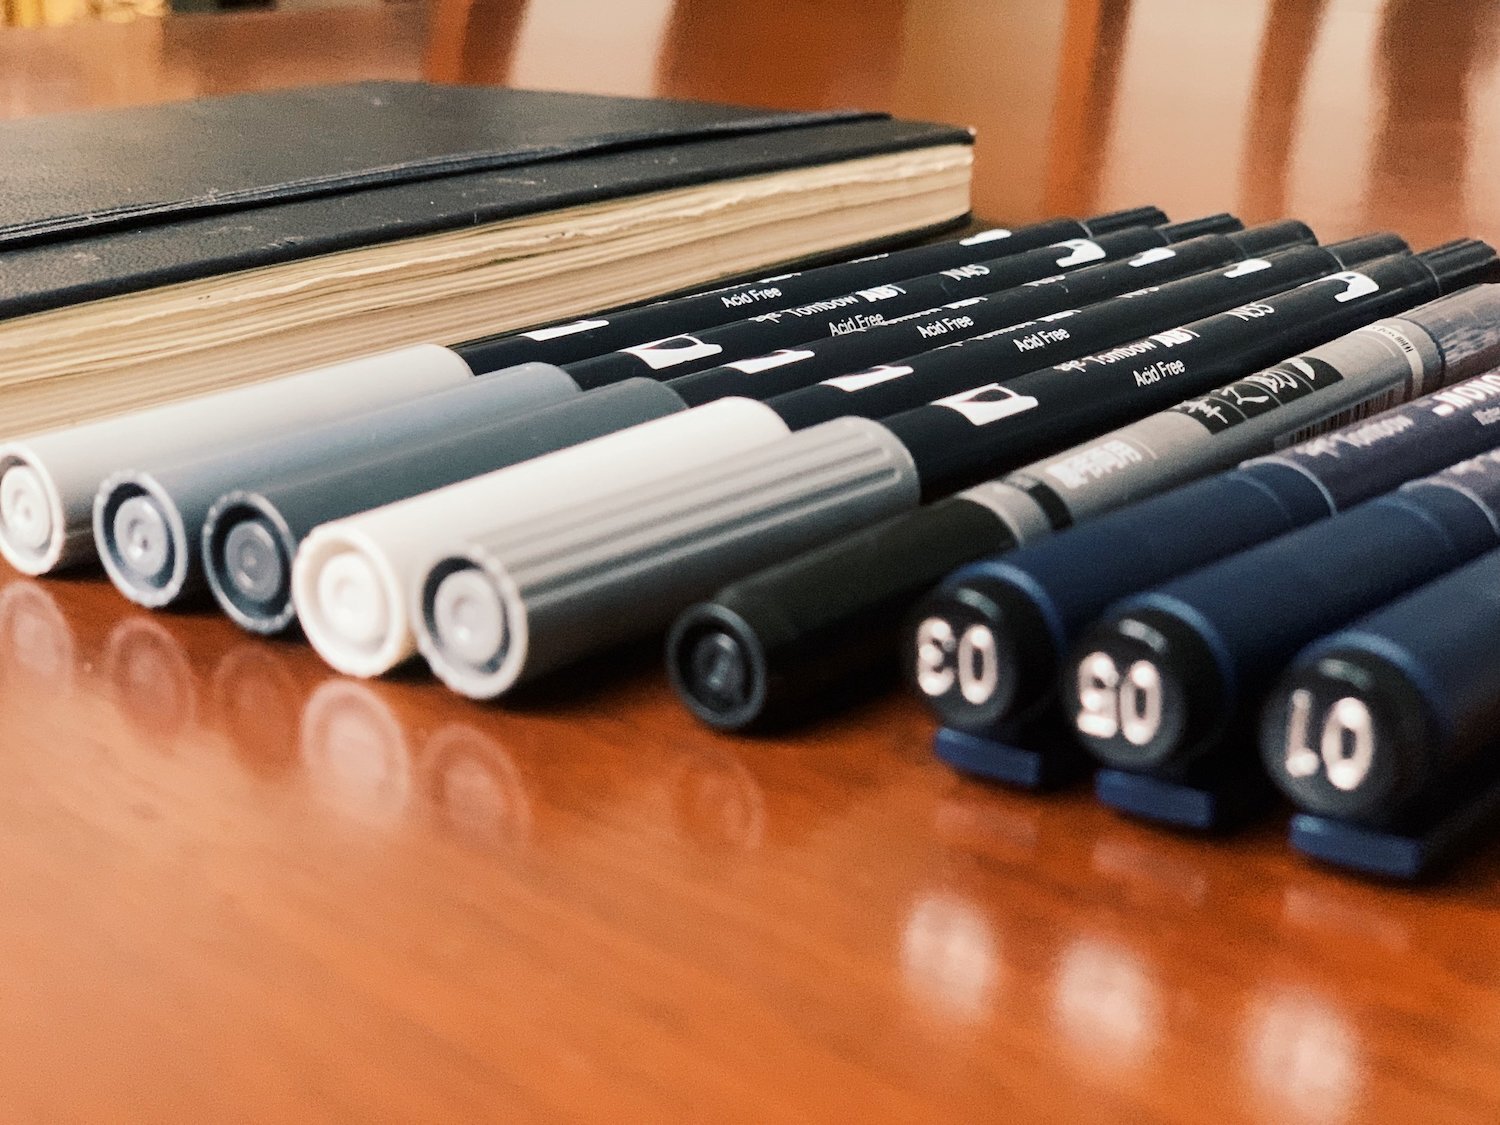
Here are a list of the things I currently use anyways (all pictured above) and a couple of notes:
Moleskine Dotted Grid Notebook (hard cover/black)
I am a loyal Moleskin user, but I have thought about trying out other notebooks because the pages in this one are a little thinner than I would like (you can see in some of these photos how the ink shows through).
The dotted grid is something I highly recommend as opposed to a lined grid — it’s subtle but keeps everything looking neat and tidy (possibly the first and only key to looking like you have it all together).
I also didn’t start this one from scratch, which is why it looks so banged up!
Tombow Dual Brush Pens
These are probably the most common brush pens you see on Instagram — they are affordable, but definitely a bit more of an investment as far as supplies go.
Tombow Fudenosuke Brush Pens
I have both the hard tip and soft tip pens, though these aren’t pictured. The one displayed here is the twin-tip in black and gray.
I personally would recommend these over the dual brush pens for beginners. They are cheaper and easier to manipulate if you are trying out different styles of lettering for the first time, and I think I like the effect better anyways. I wish I had started here.
I use these for more detailed headers and such, but it ends up being the perfect size for a smaller journal.
Tombow MONO Drawing Pens
I know! I use a lot of Tombow! I actually got these just the other day as I was looking for an alternative to Sharpie Pens (which I use faithfully), but wanted a darker ink for my journal. So far, I’ve enjoyed them! They are less expensive than the Sakura Pigma Micron pens, which are the more popular ones seen used for finer lines, but for my purposes, these have been working great.
Washi tape
I really don’t use it all that often anymore, but if I see a cute pattern on sale I’ll pick it up! It can be useful for covering up little mistakes 😉
Pages
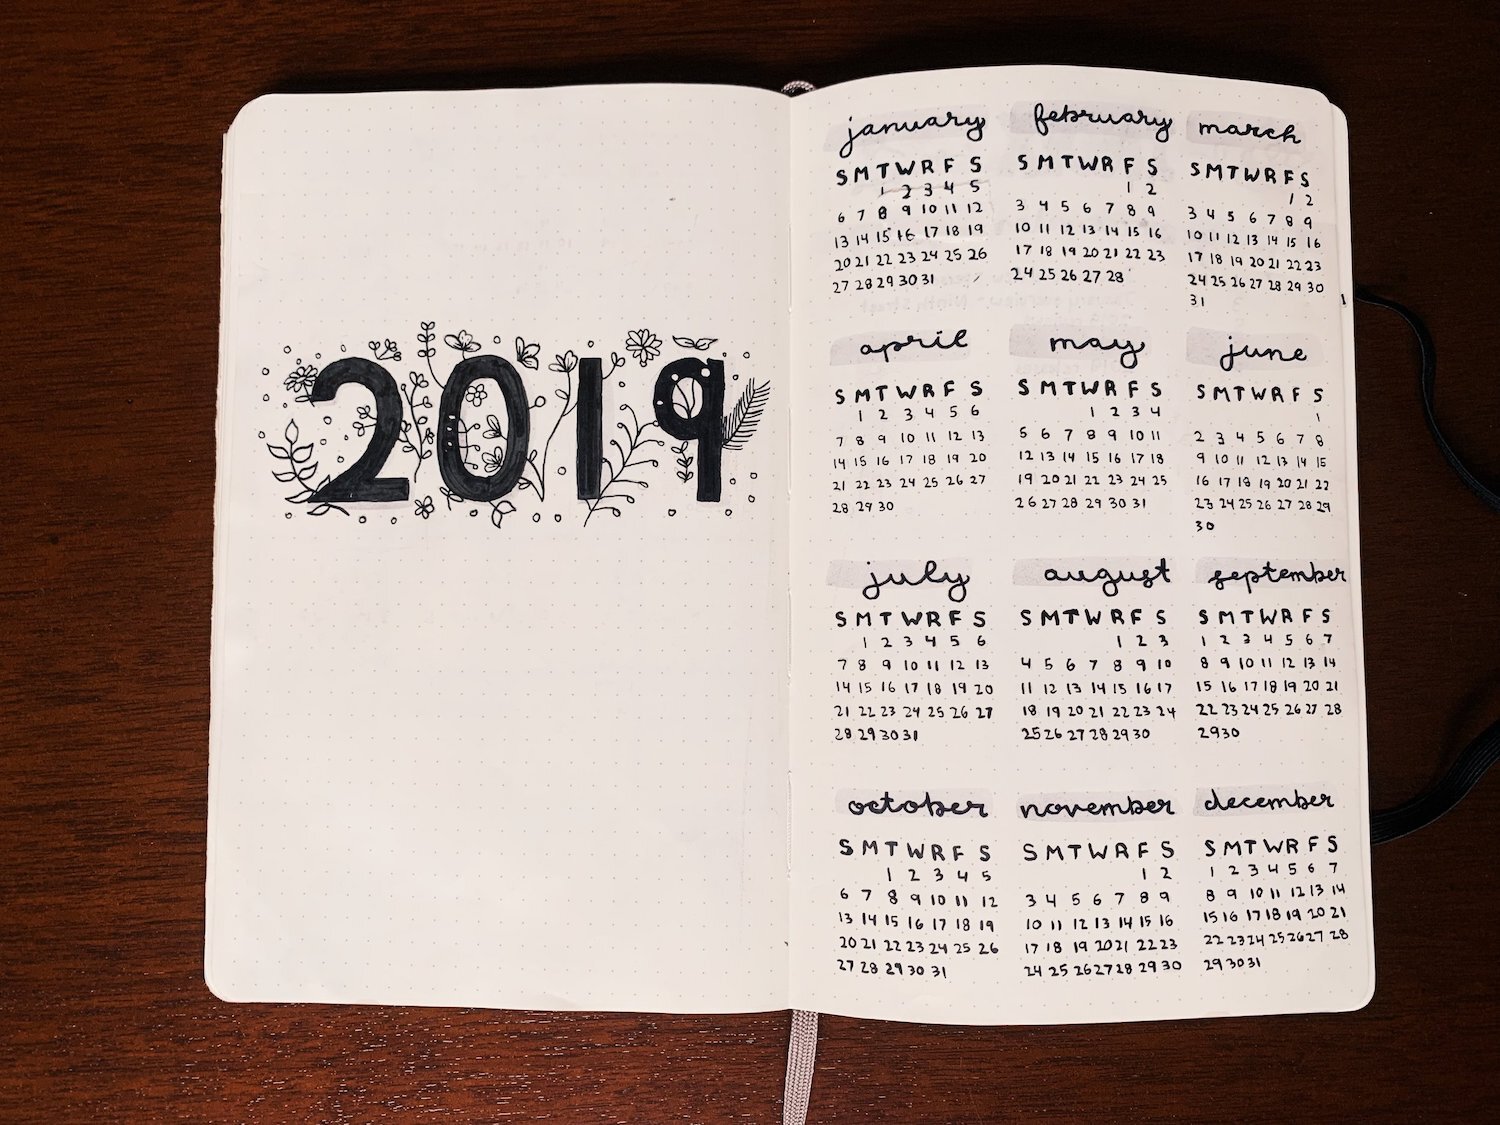
This is what I start all my journals with — an overview of the year. Some people mark in important dates like birthdays and such, but I like to use my iCal for that and just keep this one blank for reference. Pretty basic! VERY easy to mess up on the numbers though — I absolutely always do. (Check out January! I messed it up from the get-go and I KNEW the pitfalls! Bonus: I use the back page of my journal as scratch, and if I mess something up, I tear out a little piece and use double-sided tape to make a sort of band-aid for my journal’s boo-boo. Then I just write over it! Not the cutest, but let’s get real, y’all.)
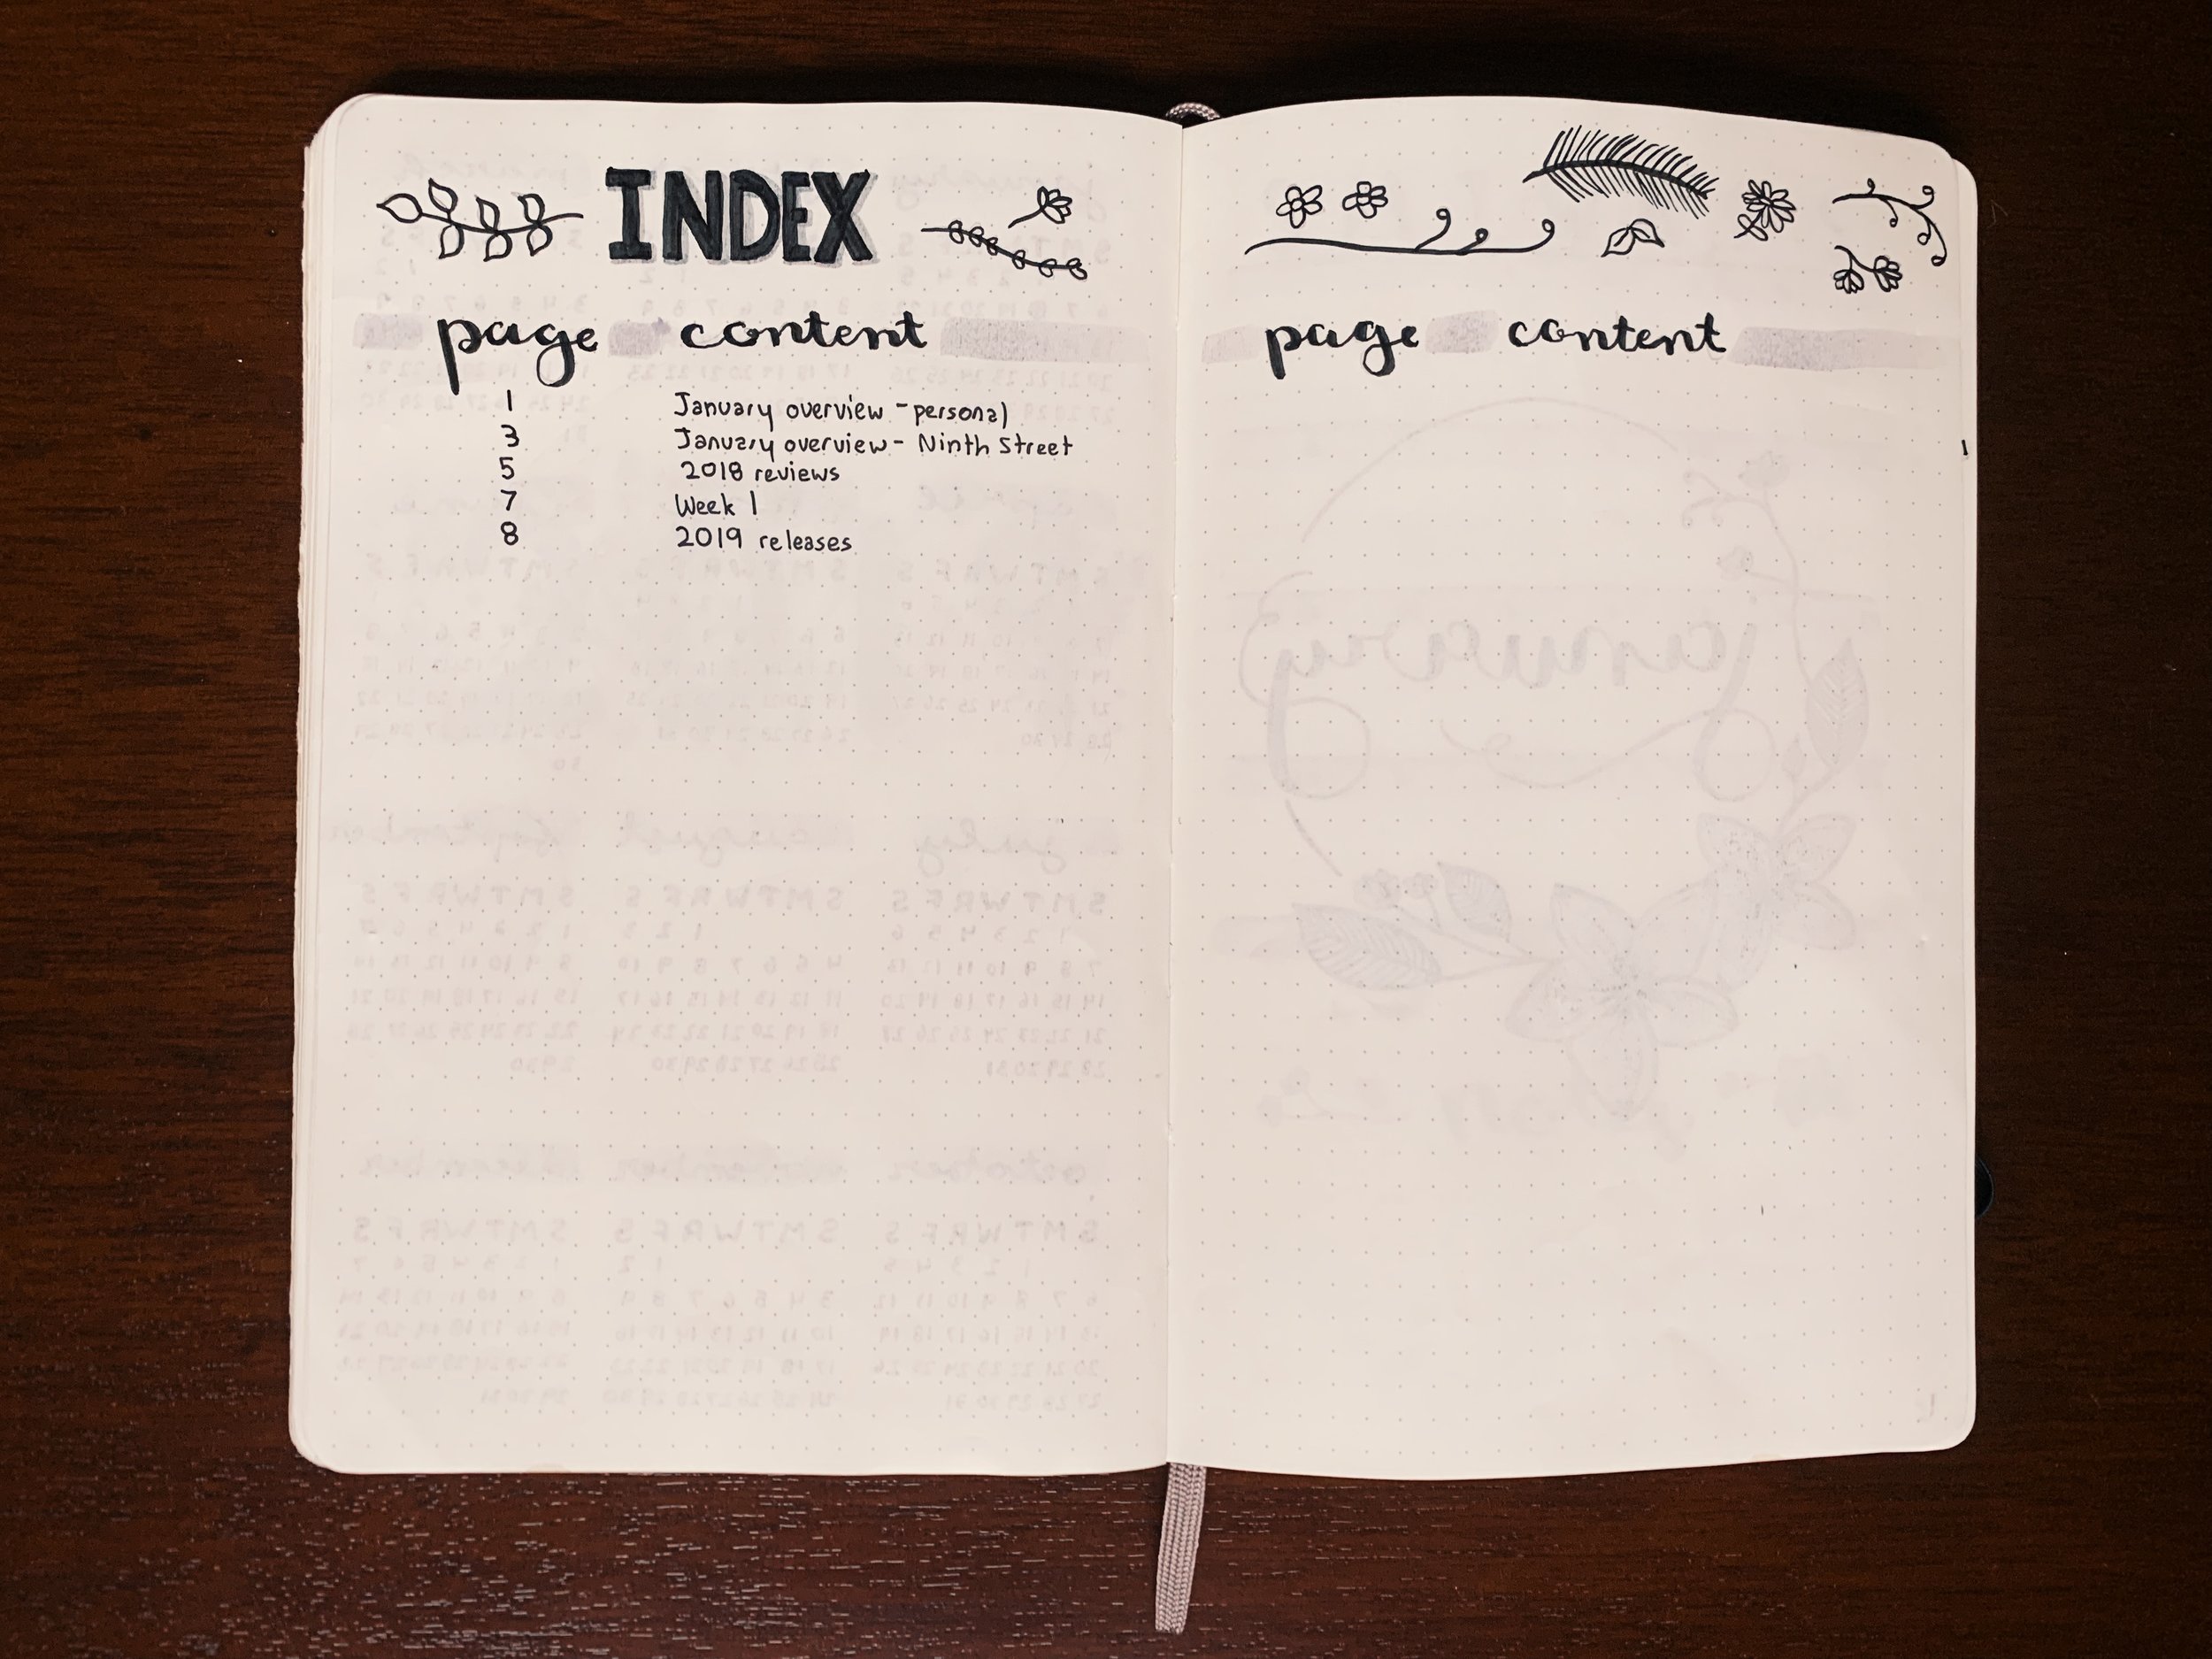
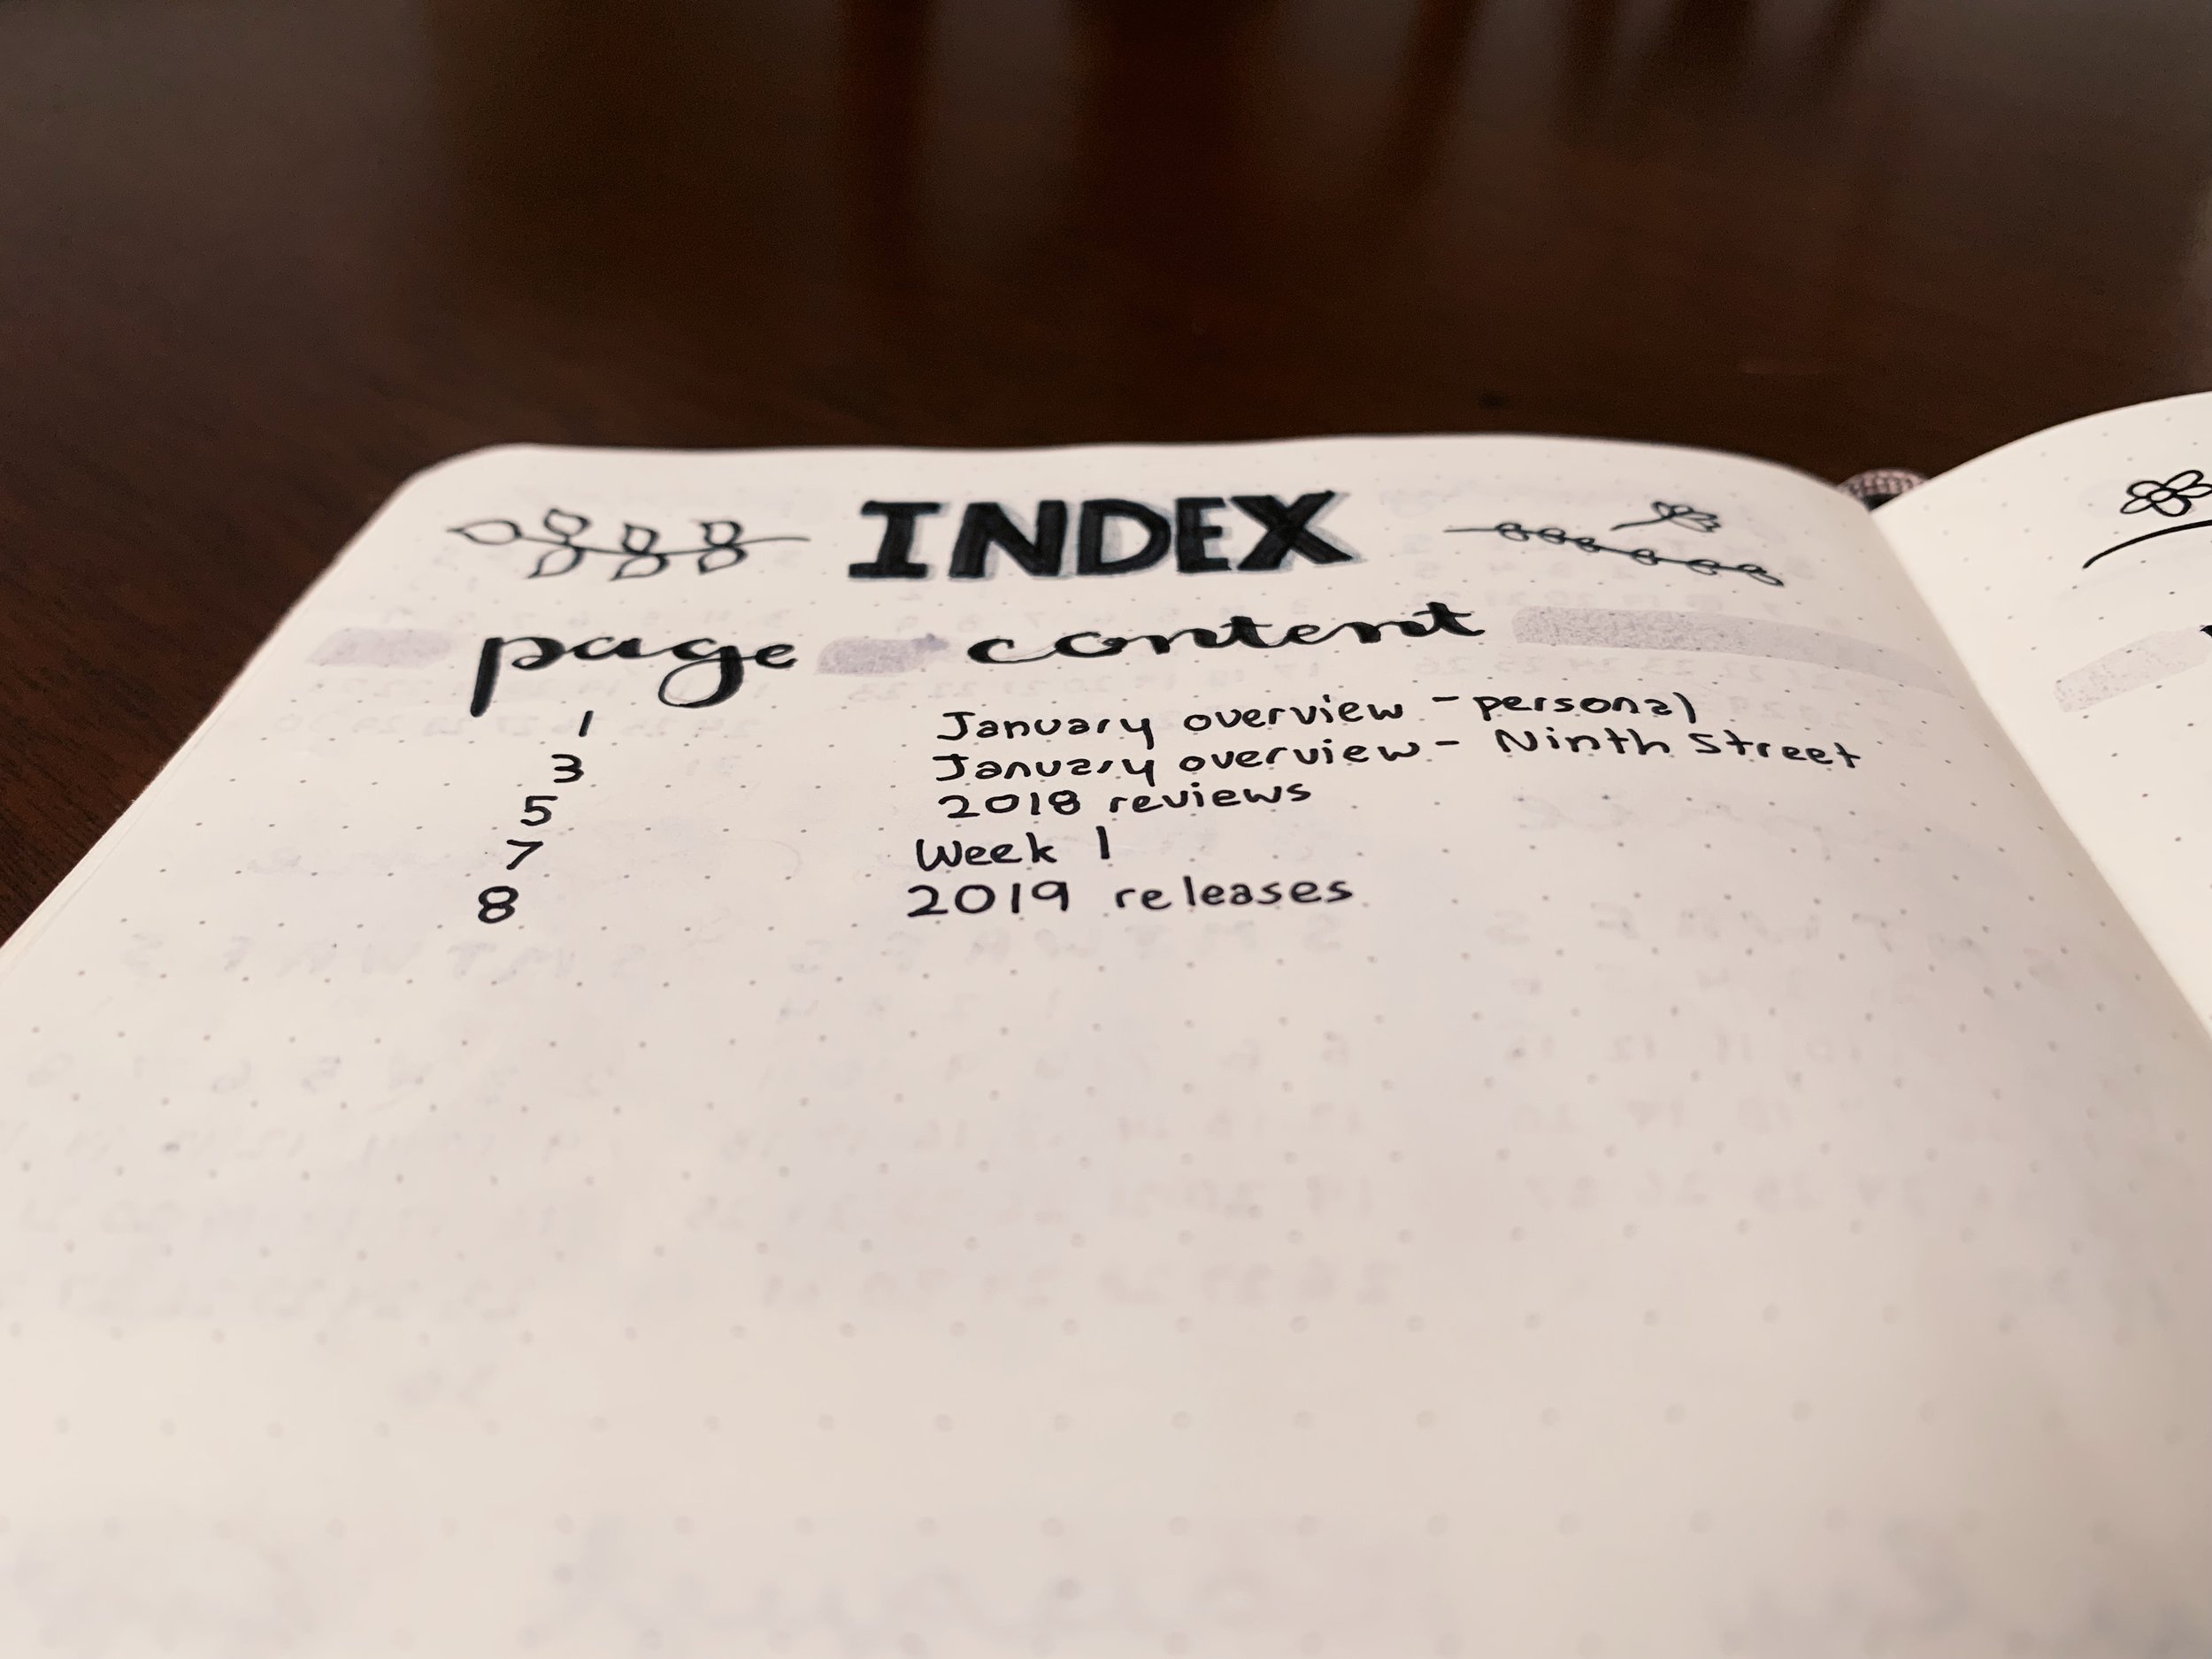
Next up, we have the index, which is pretty self-explanatory. Page number, description of page, etc. I kinda kept it to the style of my yearly overview page — black and white with a simple pattern. Sometimes I’ll add color to my monthly pages and have different doodles for those, so it’s nice to keep the pages that apply to the whole year fairly simple.
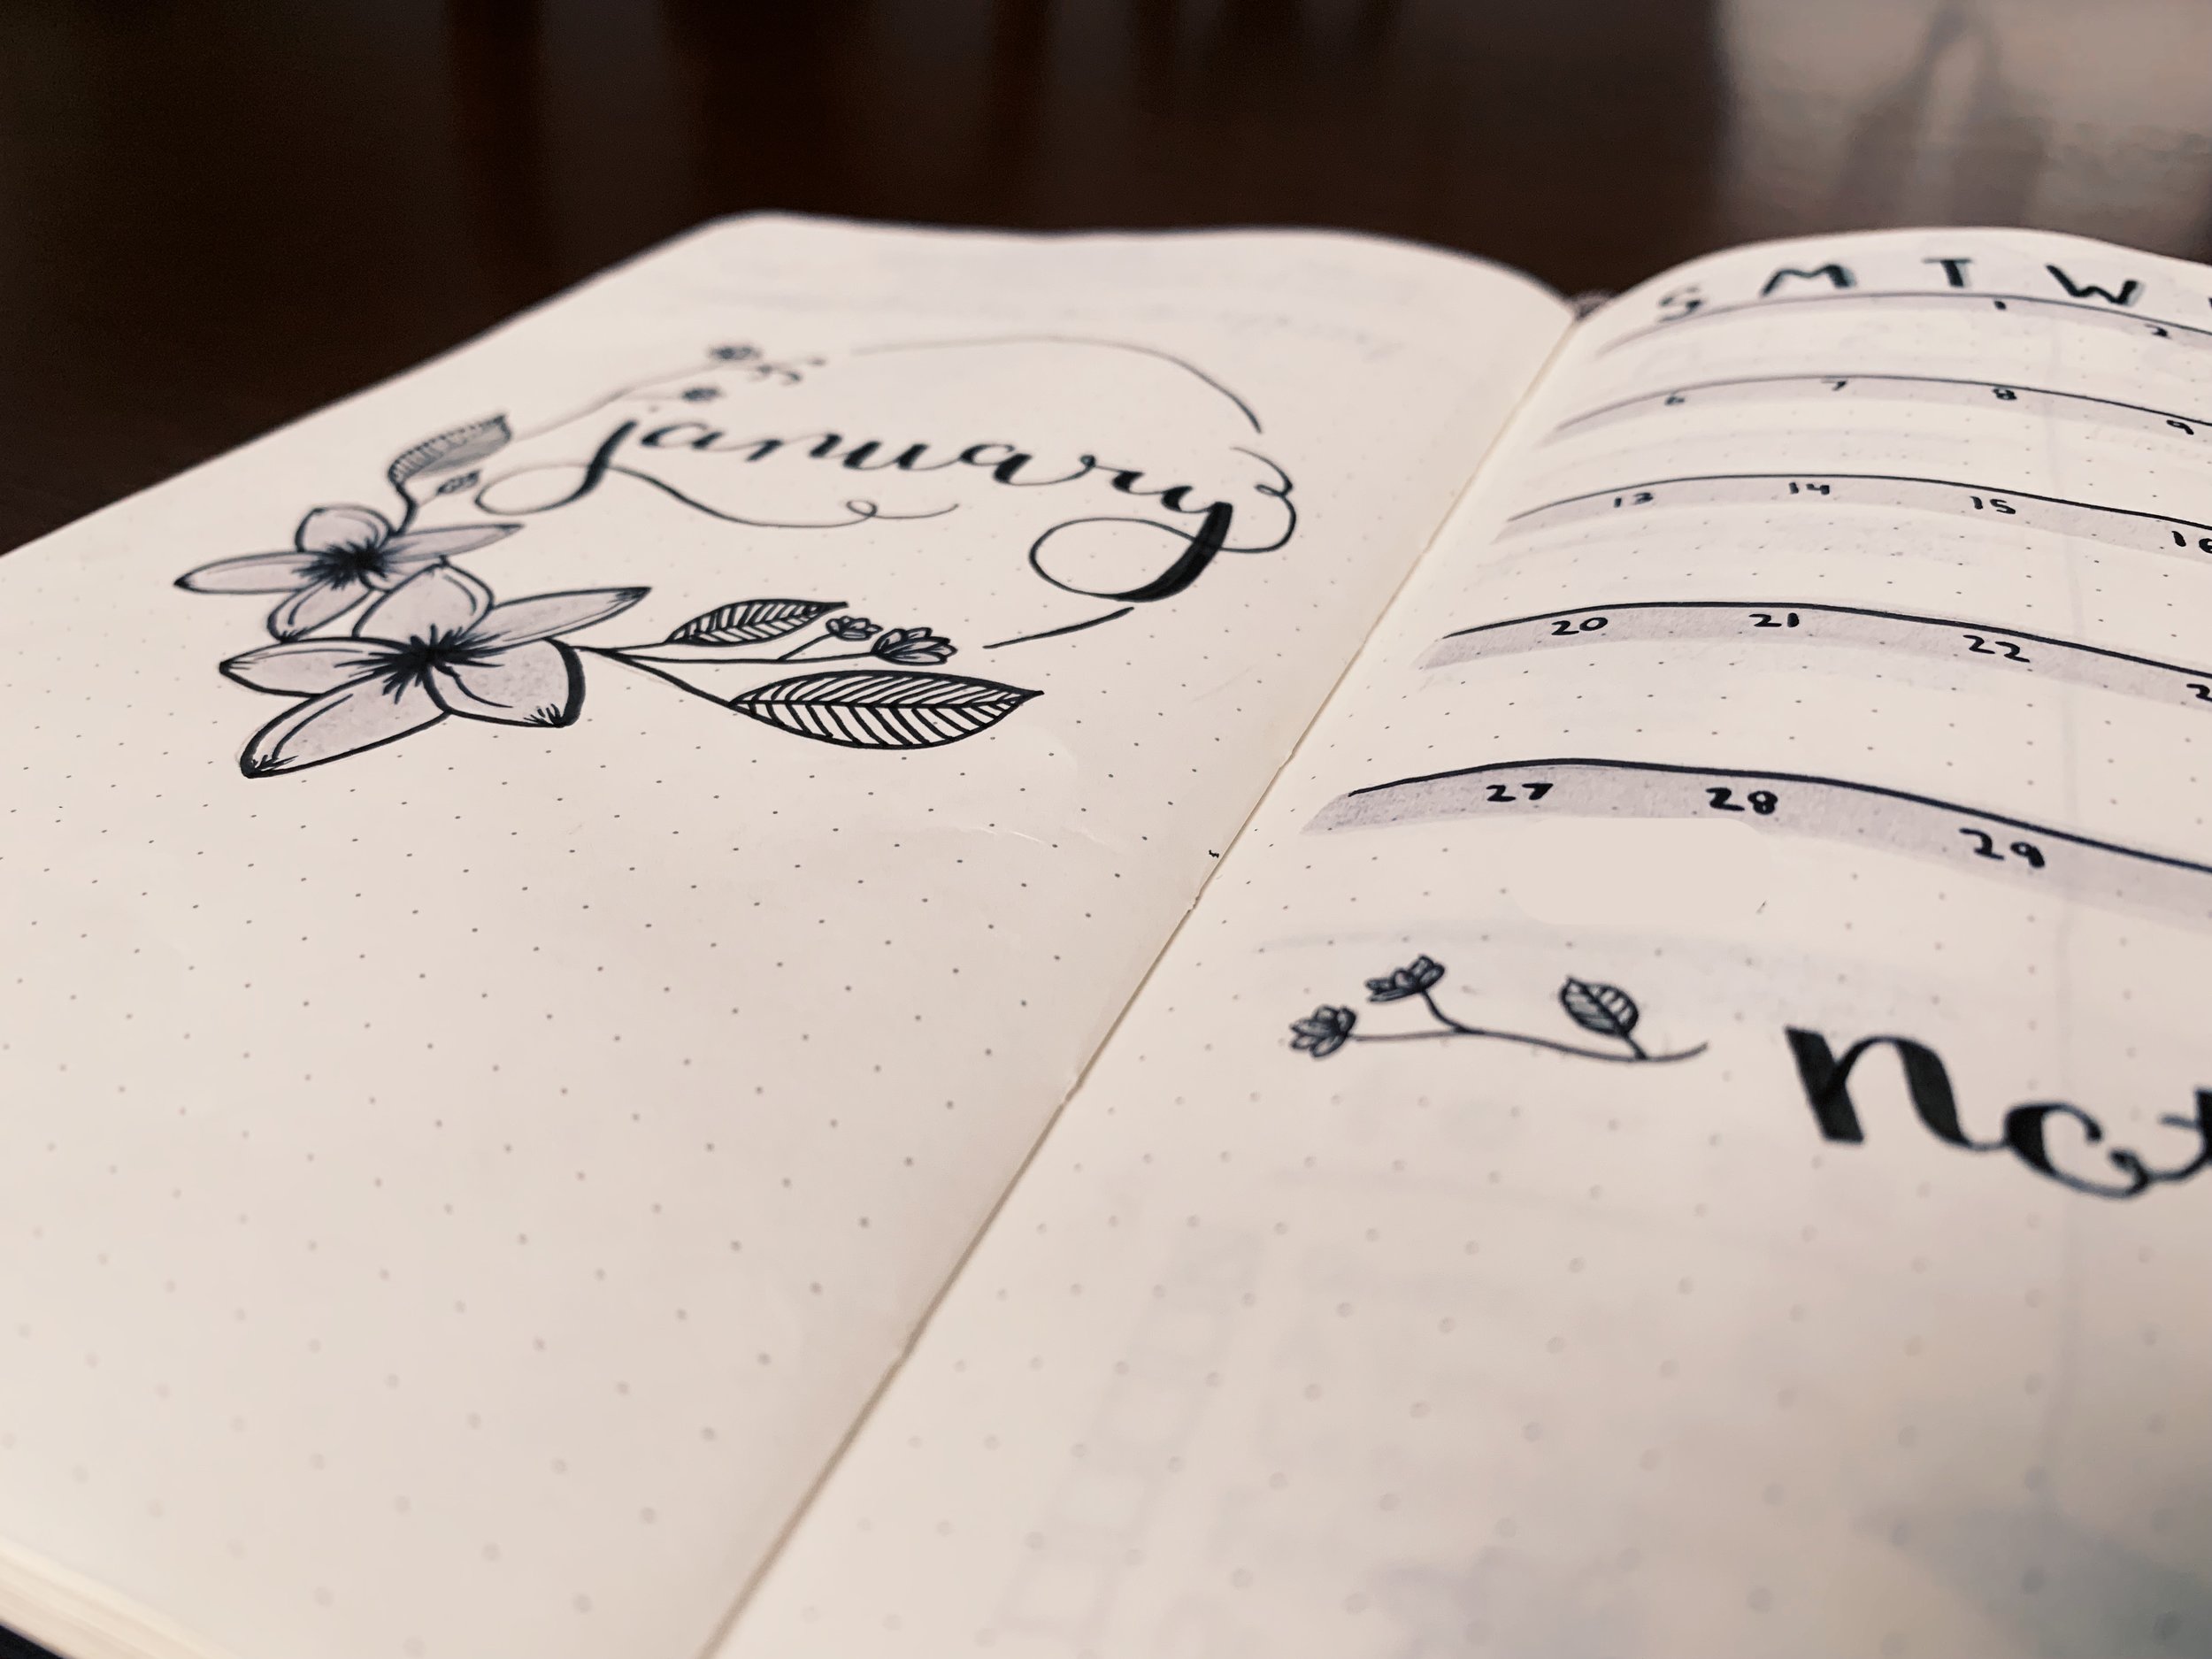
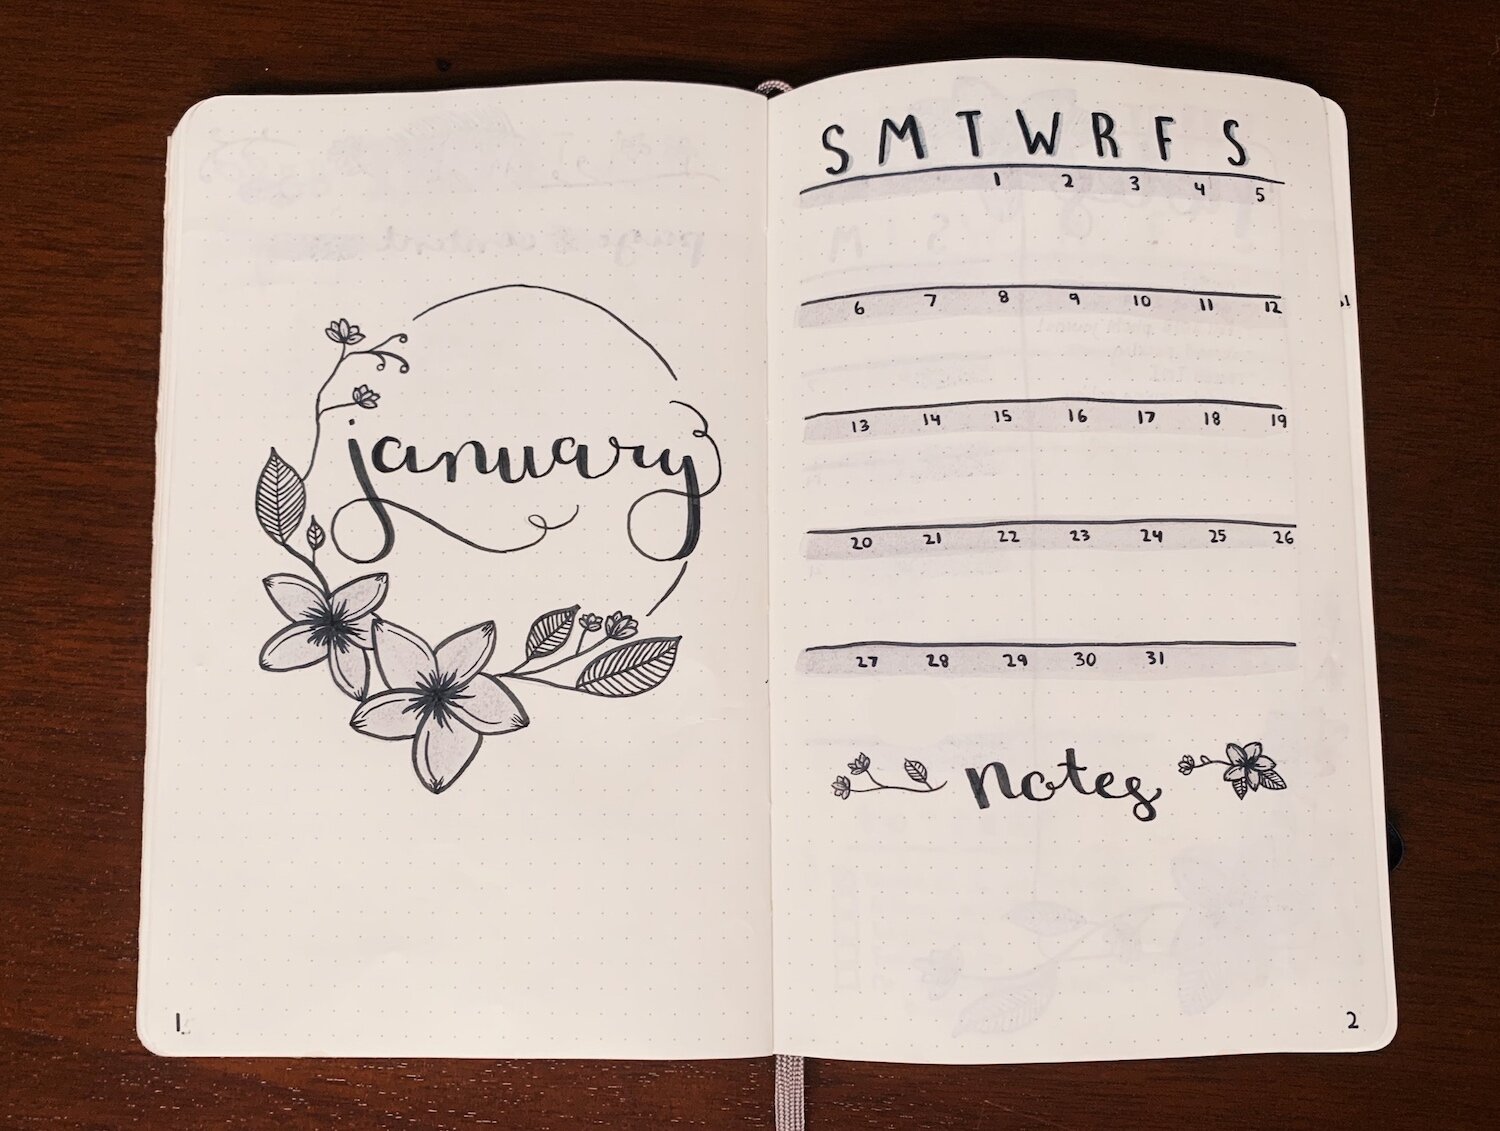
Here’s my personal January page, where I write down the bigger events going on in my life — travel dates, semester start and end — basically anything different from my everyday schedule, which I plan out on my iCal. It’s just nice to have a simple overview of everything I would consider “important”. You’ll also notice my theme for the month is pretty simple — these flowers I learned how to do from the helpful tutorial on @thebujophase’s post on Instagram! (Instagram is the best place if you’re looking for some inspiration!)
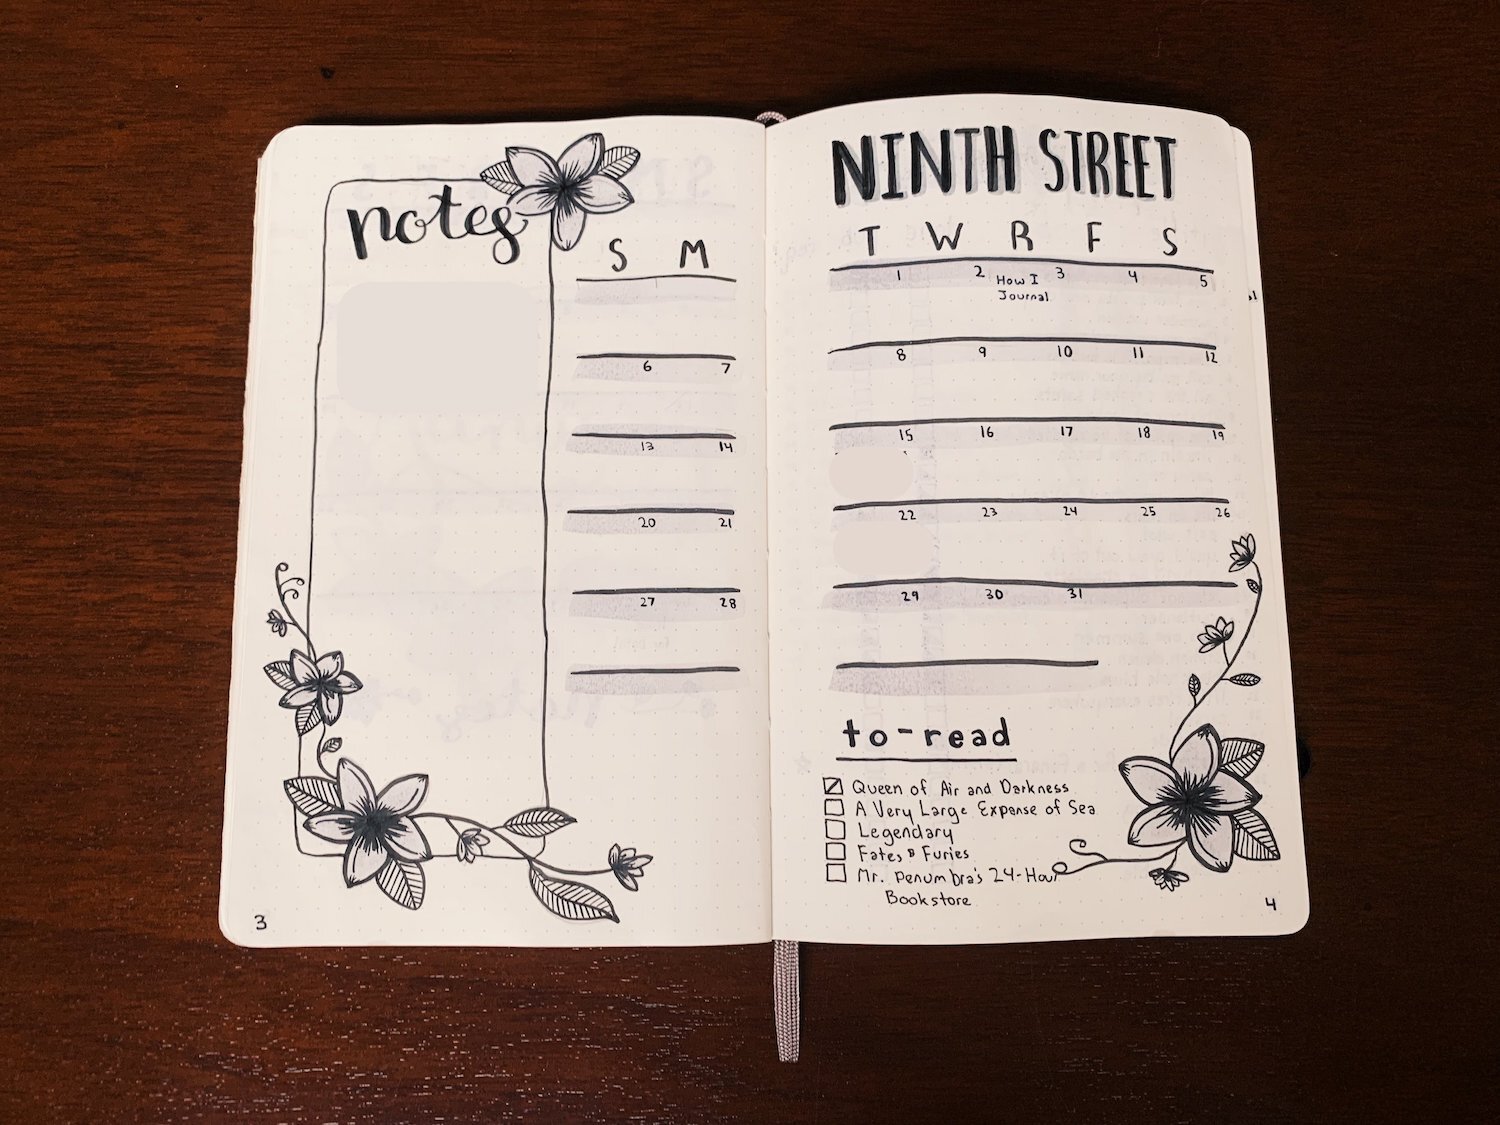
When planning out anything to do with Ninth Street and reading, I’ve started keeping a separate calendar. I’m not super good at timing my posts regularly yet, but I’m hoping to get better in the new year! Here, I have my posts written out (see January 3rd for a non-blurred out entry) and any dates that might be relevant, such as book releases. In the new year, I’ve also tried to make a TBR list for the month, which is what you see at the bottom. We’ll see how that one goes!
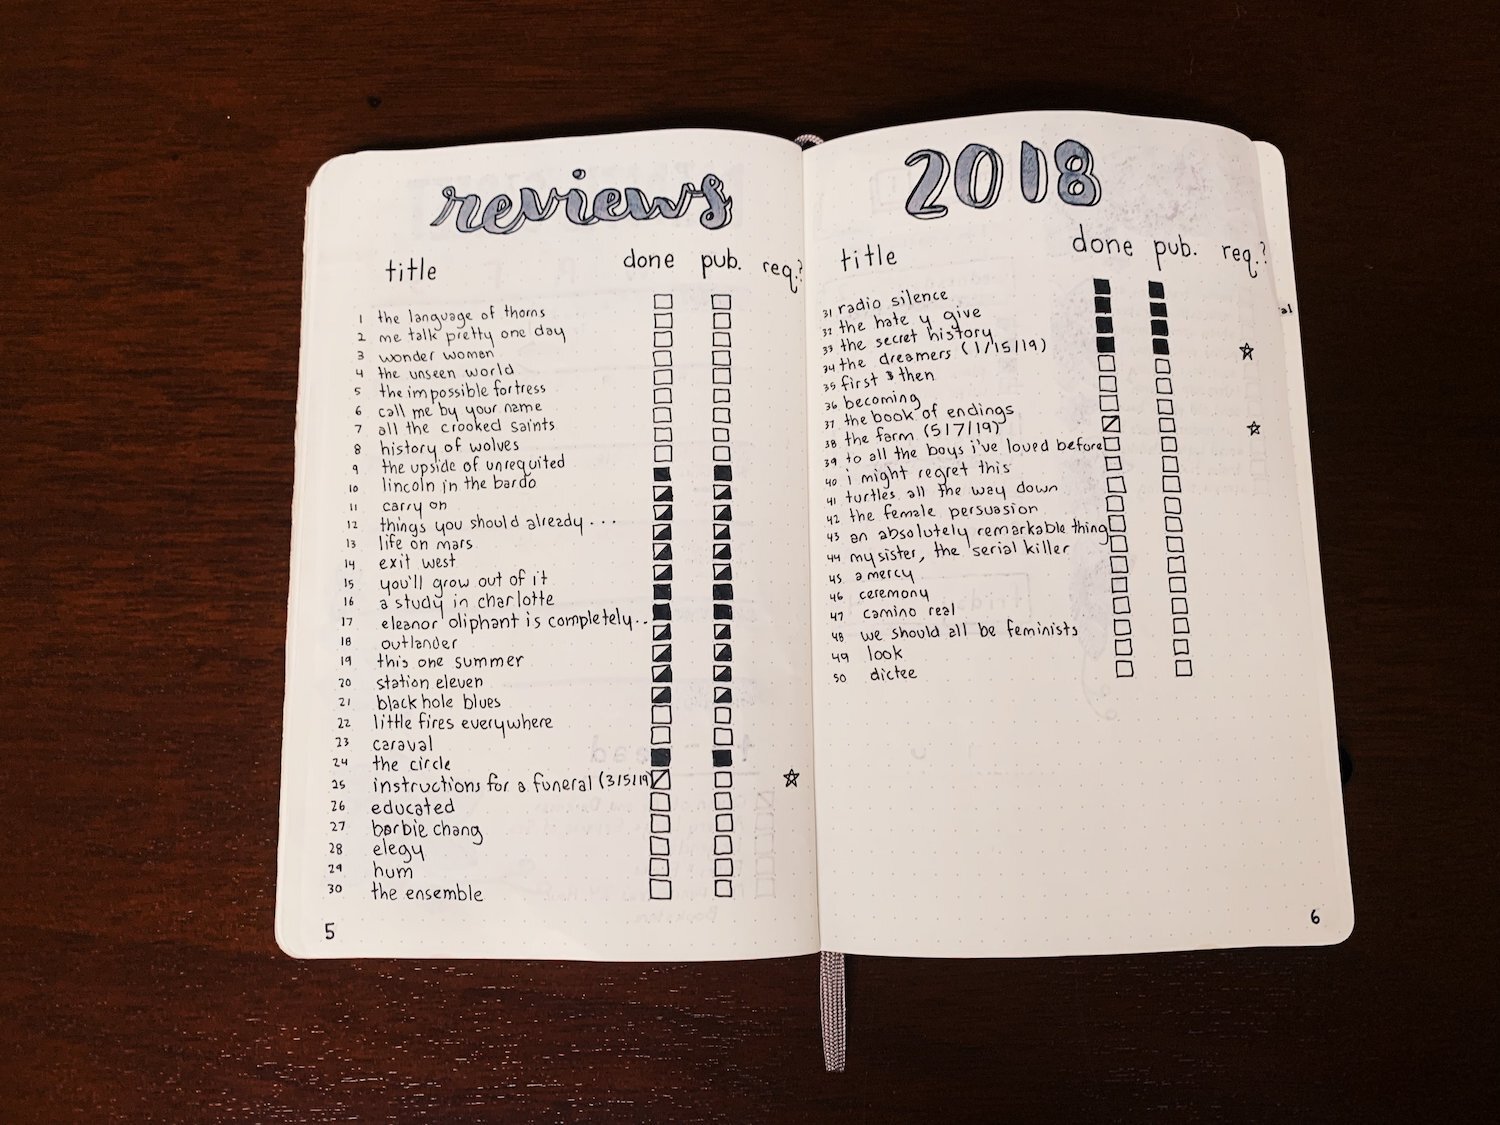
So, I have a similar page for 2019, but since I haven’t finished any books yet, it’s pretty blank so far. This is my 2018 reads and reviews page, where I mark if I’ve written a review, if I’ve published it, and if it is a review that I owe to a publisher. Pretty simple and fits my needs for what I want to track!
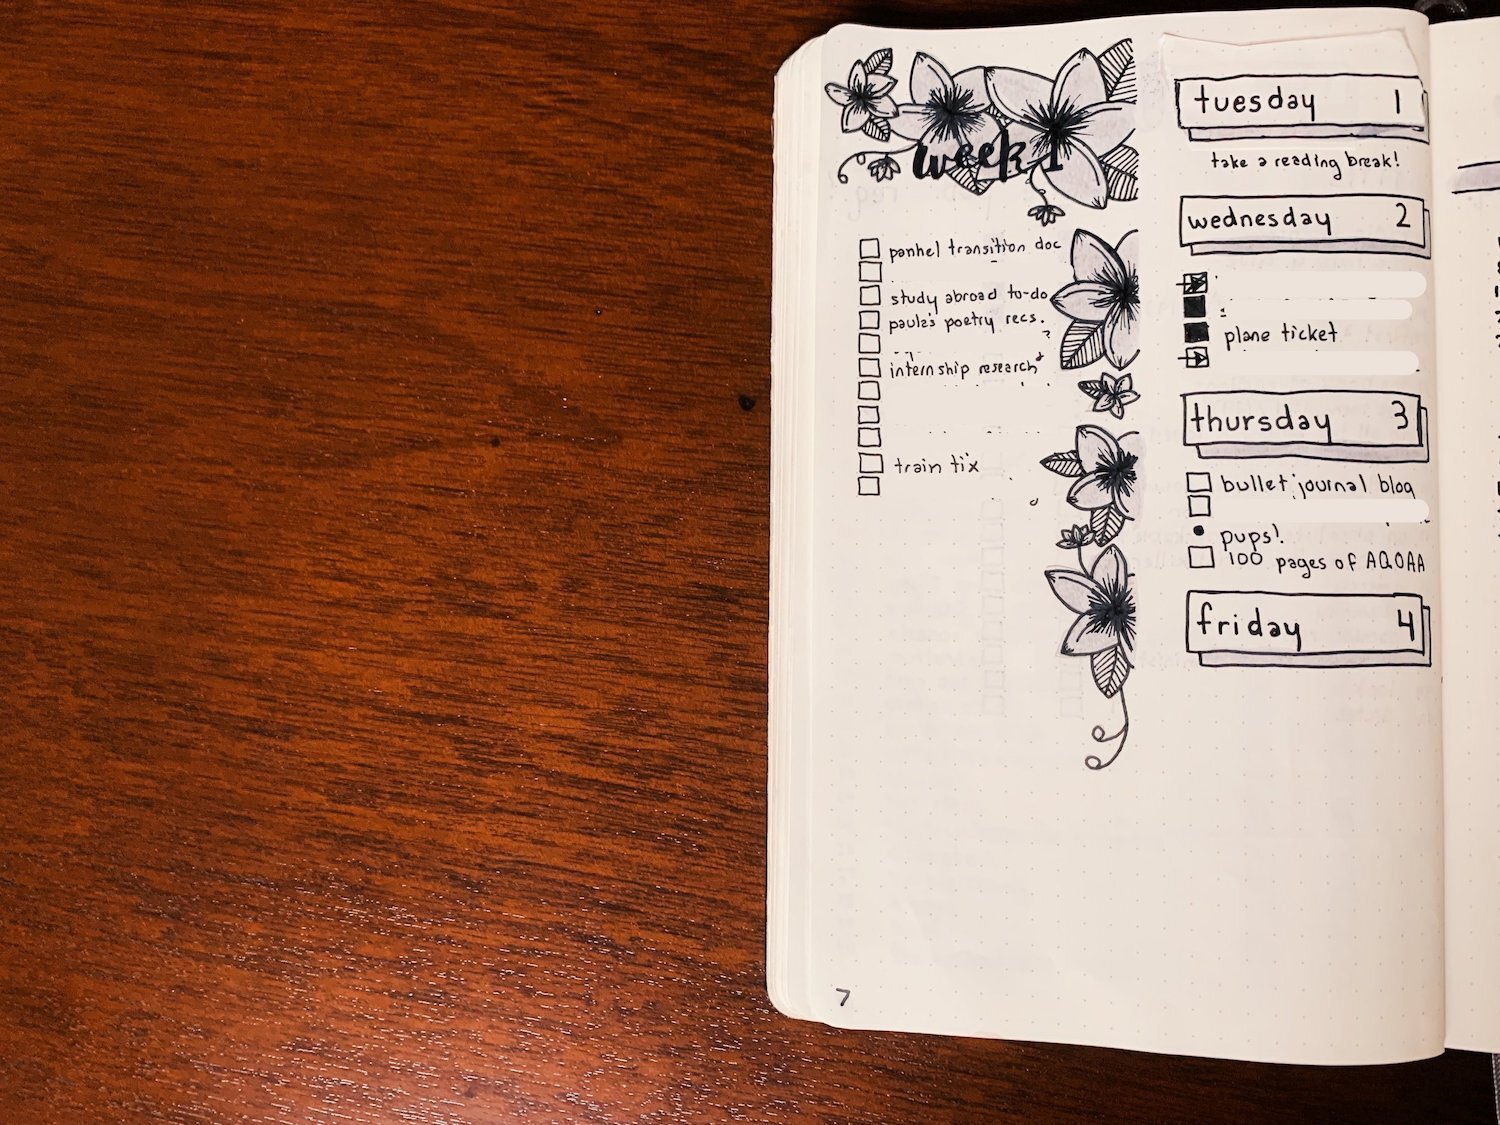
Here’s my first weekly spread of 2019 — usually, these take up two pages, but this week started on Tuesday and just didn’t have a lot going on, so I just used one. (Can you spot the band-aid here???) These always consist of to-do lists for me. I have seen other people use these pages as sort of day calendars, but personally, I just like seeing what I need to check off. On the left side, we have a general to-do list of things ranging from big to small (though a lot of them have been blurred out), and under each day header, I sort the things I have to get done if they are time-sensitive.
My Key
Hollow = To-Do
Filled-in = Completed
Crossed-through = Partially done/in-progress
Arrow = Moved
X’d out = Cancelled
Circle = Event/reminder
Extra: During the school year, I change up my weekly schedule a little and write out everything by class instead of day. I mark down inside the hollow boxes the letter of the day the task is due. For some reason, this method just works a little better for me!
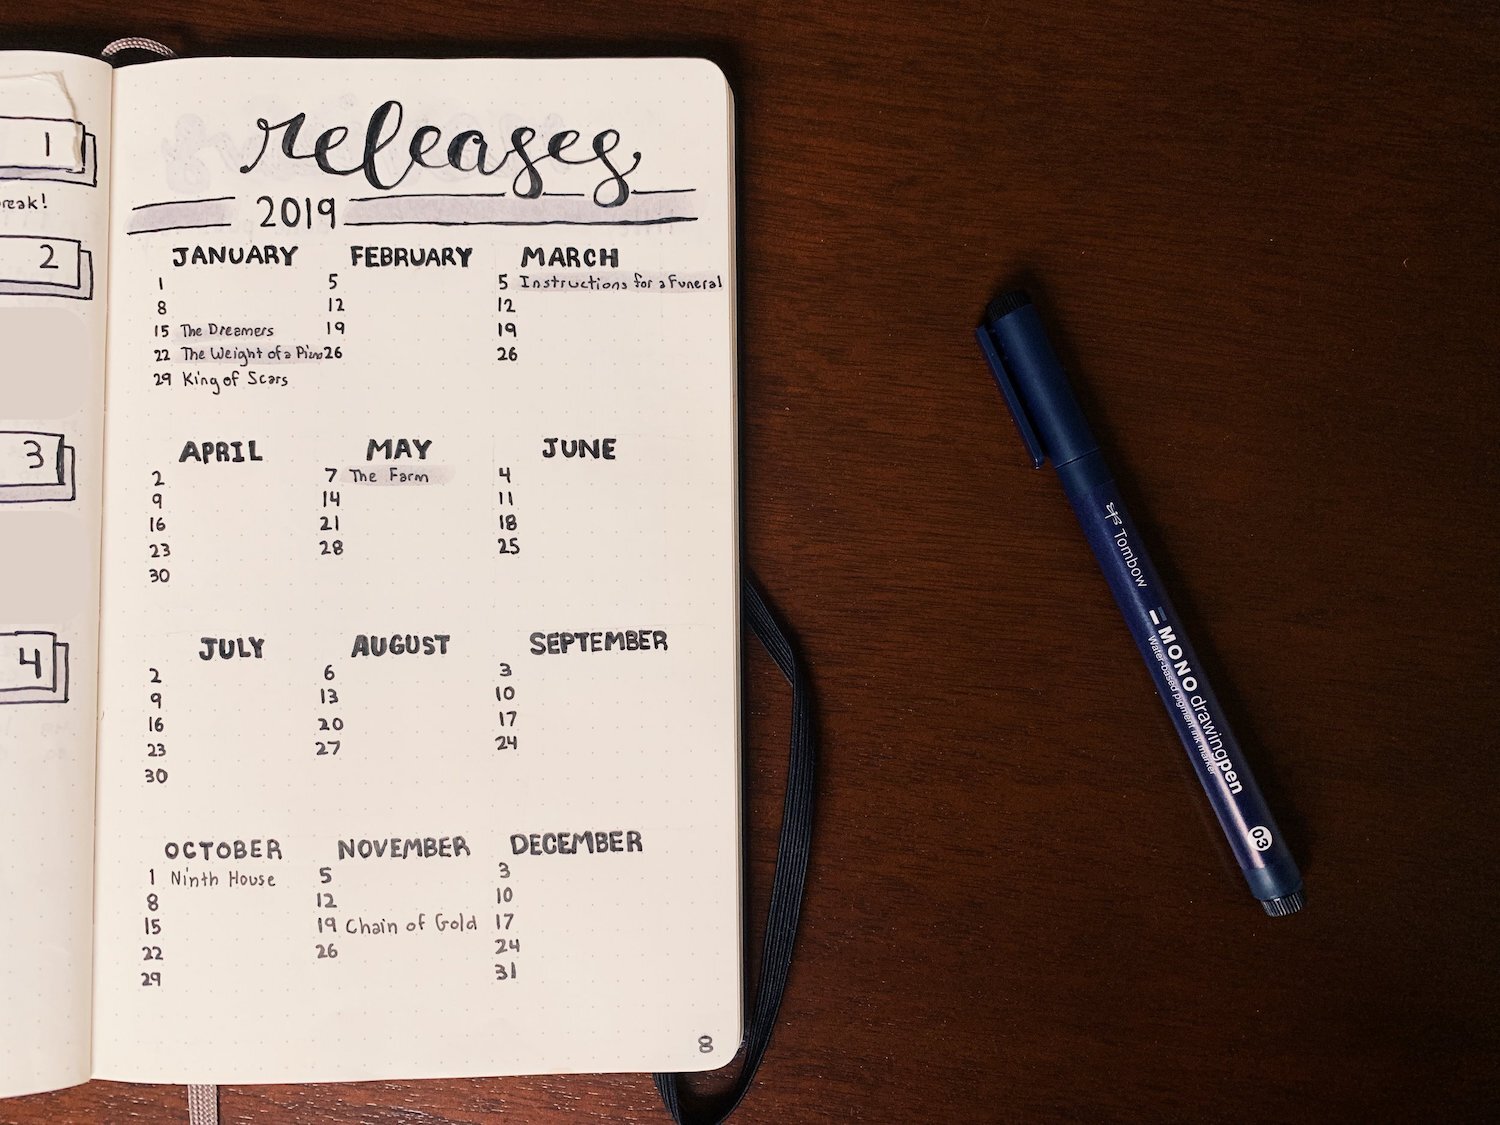
Here’s a little bonus page that most people probably won’t use, but I’ll put it here anyways. These are, as the title says, the book releases that are important to me in 2019, either because I have reviewed them or personally want to read them. Helpful because, as you’ve probably realized by now, I’m a big fan of visualization!
And . . .
Well, that’s it, basically! Like I said, I am pretty minimalistic, and prefer to keep my journal functional. Of course, if something comes up and I feel that I need to make a spread for it, I do it. If I try out a feature one month and don’t like it the next, I won’t keep it up! As I mentioned before, my style even changes when I’m at home versus when I’m at school, because my life works differently and I have other priorities. It’s all about what works for you — if you journal or are just starting to, leave me a comment! I’d like to hear how you journal! 🙂
This post is not in any way sponsored by any of the brands mentioned above.